Showing posts with label Conversion. Show all posts

Thursday, 3 July 2014

Librarian Biker

RAVENWING LIBRARIAN ON BIKE
 
 
Today I wanted to share my latest conversion for my Ravenwing Army - Librarian biker.  The chapter symbol for my army is the fleur-de-lis, so I will continue a strong "Bretonnian" theme throughout, in particular with my Black Knights who will act as the bodyguard.


The conversion is based on the Ravenwing Black Knight model.  I used the Grey Knight Torso and shoulder pads.  I took the giant book from the Ravenwing sprue to make it obvious.  I've started making a physic hood from a regular shoulder which I saw here:

I will finish the model with force axe from the Sanguinary Guard kit.
 
The new plastic Space Marine kits have made creating unique models a lot easier, as its more kit-bashing than converting.
 
The black knights are done and will be posted soon.  The next project after this will be the Techmarine biker.


Thursday, 12 June 2014

Kor'sarro Khan Conversion

KOR'SARRO KHAN - PART 1


This is primary stage for my count-as Khan conversion.  I am planning to enter a painting competition on the 29th June, so that should be motivation to get this model finished.  I plan to assemble at the weekend.

Space Marine bikers are one my favourite models/themes in 40k - so I will be adding a White Scars allied detachment to my Ravenwing army.

I'll going for a Lion theme for this army and if anyone has any ideas for the Lion-themed storm shields to use for my command squad, any comments are more than welcome. 


Monday, 19 August 2013

Magnets: Stormraven Wings

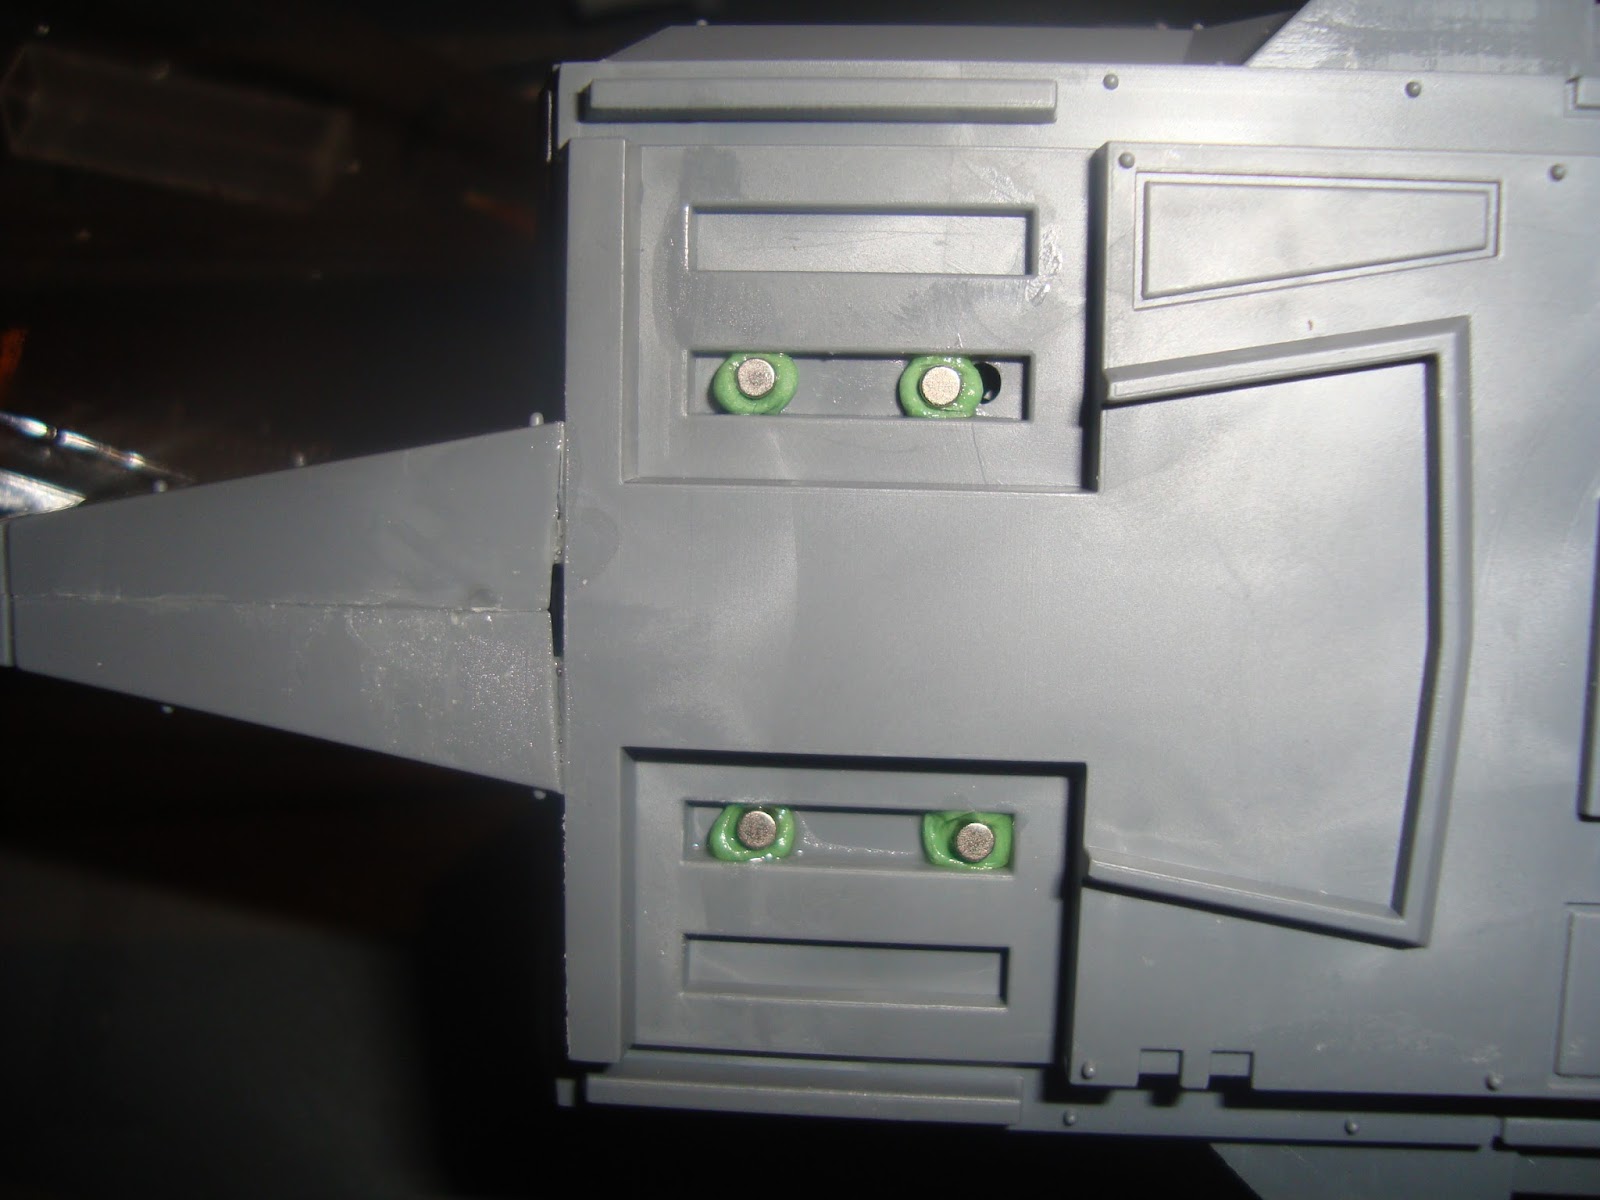
Magnetising the Stormraven wings can be very handy for storage and transport without buying a custom foam case.
Step 1:  Glue the magnets in position.  I used "green-stuff" to keep them in place.  Then "colour" the top of the magnets with marker pen or a little paint.
Step 2:  Then dry fit the wings, so the pen on the top of the magnet will mark the position where you need to drill - to secure the other magnet.
Step 3: Drill about 2mm.  Don't worry about going too far.  Because of the flat surface on the other side, any mistakes can be easily repaired with putty.


Step 4:  Glue the magnets in place.


Step 5: Drill a hole and repeat Step 1 & 2


Step 6: Create a super-structure beneath the exhaust using bits and green stuff.  Only use 1 magnet in the middle.  Using 2 towards the back creates a moment and the front lifts up :,- (.  I need to add a 3rd to the front now.


Fin: The wings will not balance until the engines are glued in place, so don't worry if they don't stay in place.  I am going to spray the engines metal/silver before gluing in place.


Wednesday, 22 May 2013

Necron Destroyer Lord Conversion

I've never been that keen on the Necron Destroyer models, but rule-wise I think the Destroyer Lord works well in allied detachment with some Wraiths.  I will write a post on magnetising Wraiths for practical storage and transport.

I don't think the warscythe looks very graceful or aerodynamic.  I imagine the Necrons to be very effortless in their movement.  However, preferred enemy is too good to turn down so I can live with an awkward scythe.

An easy conversion overall - a standard Necron Tomblade with the Overlord's head & scythe from the Annihilation barge.